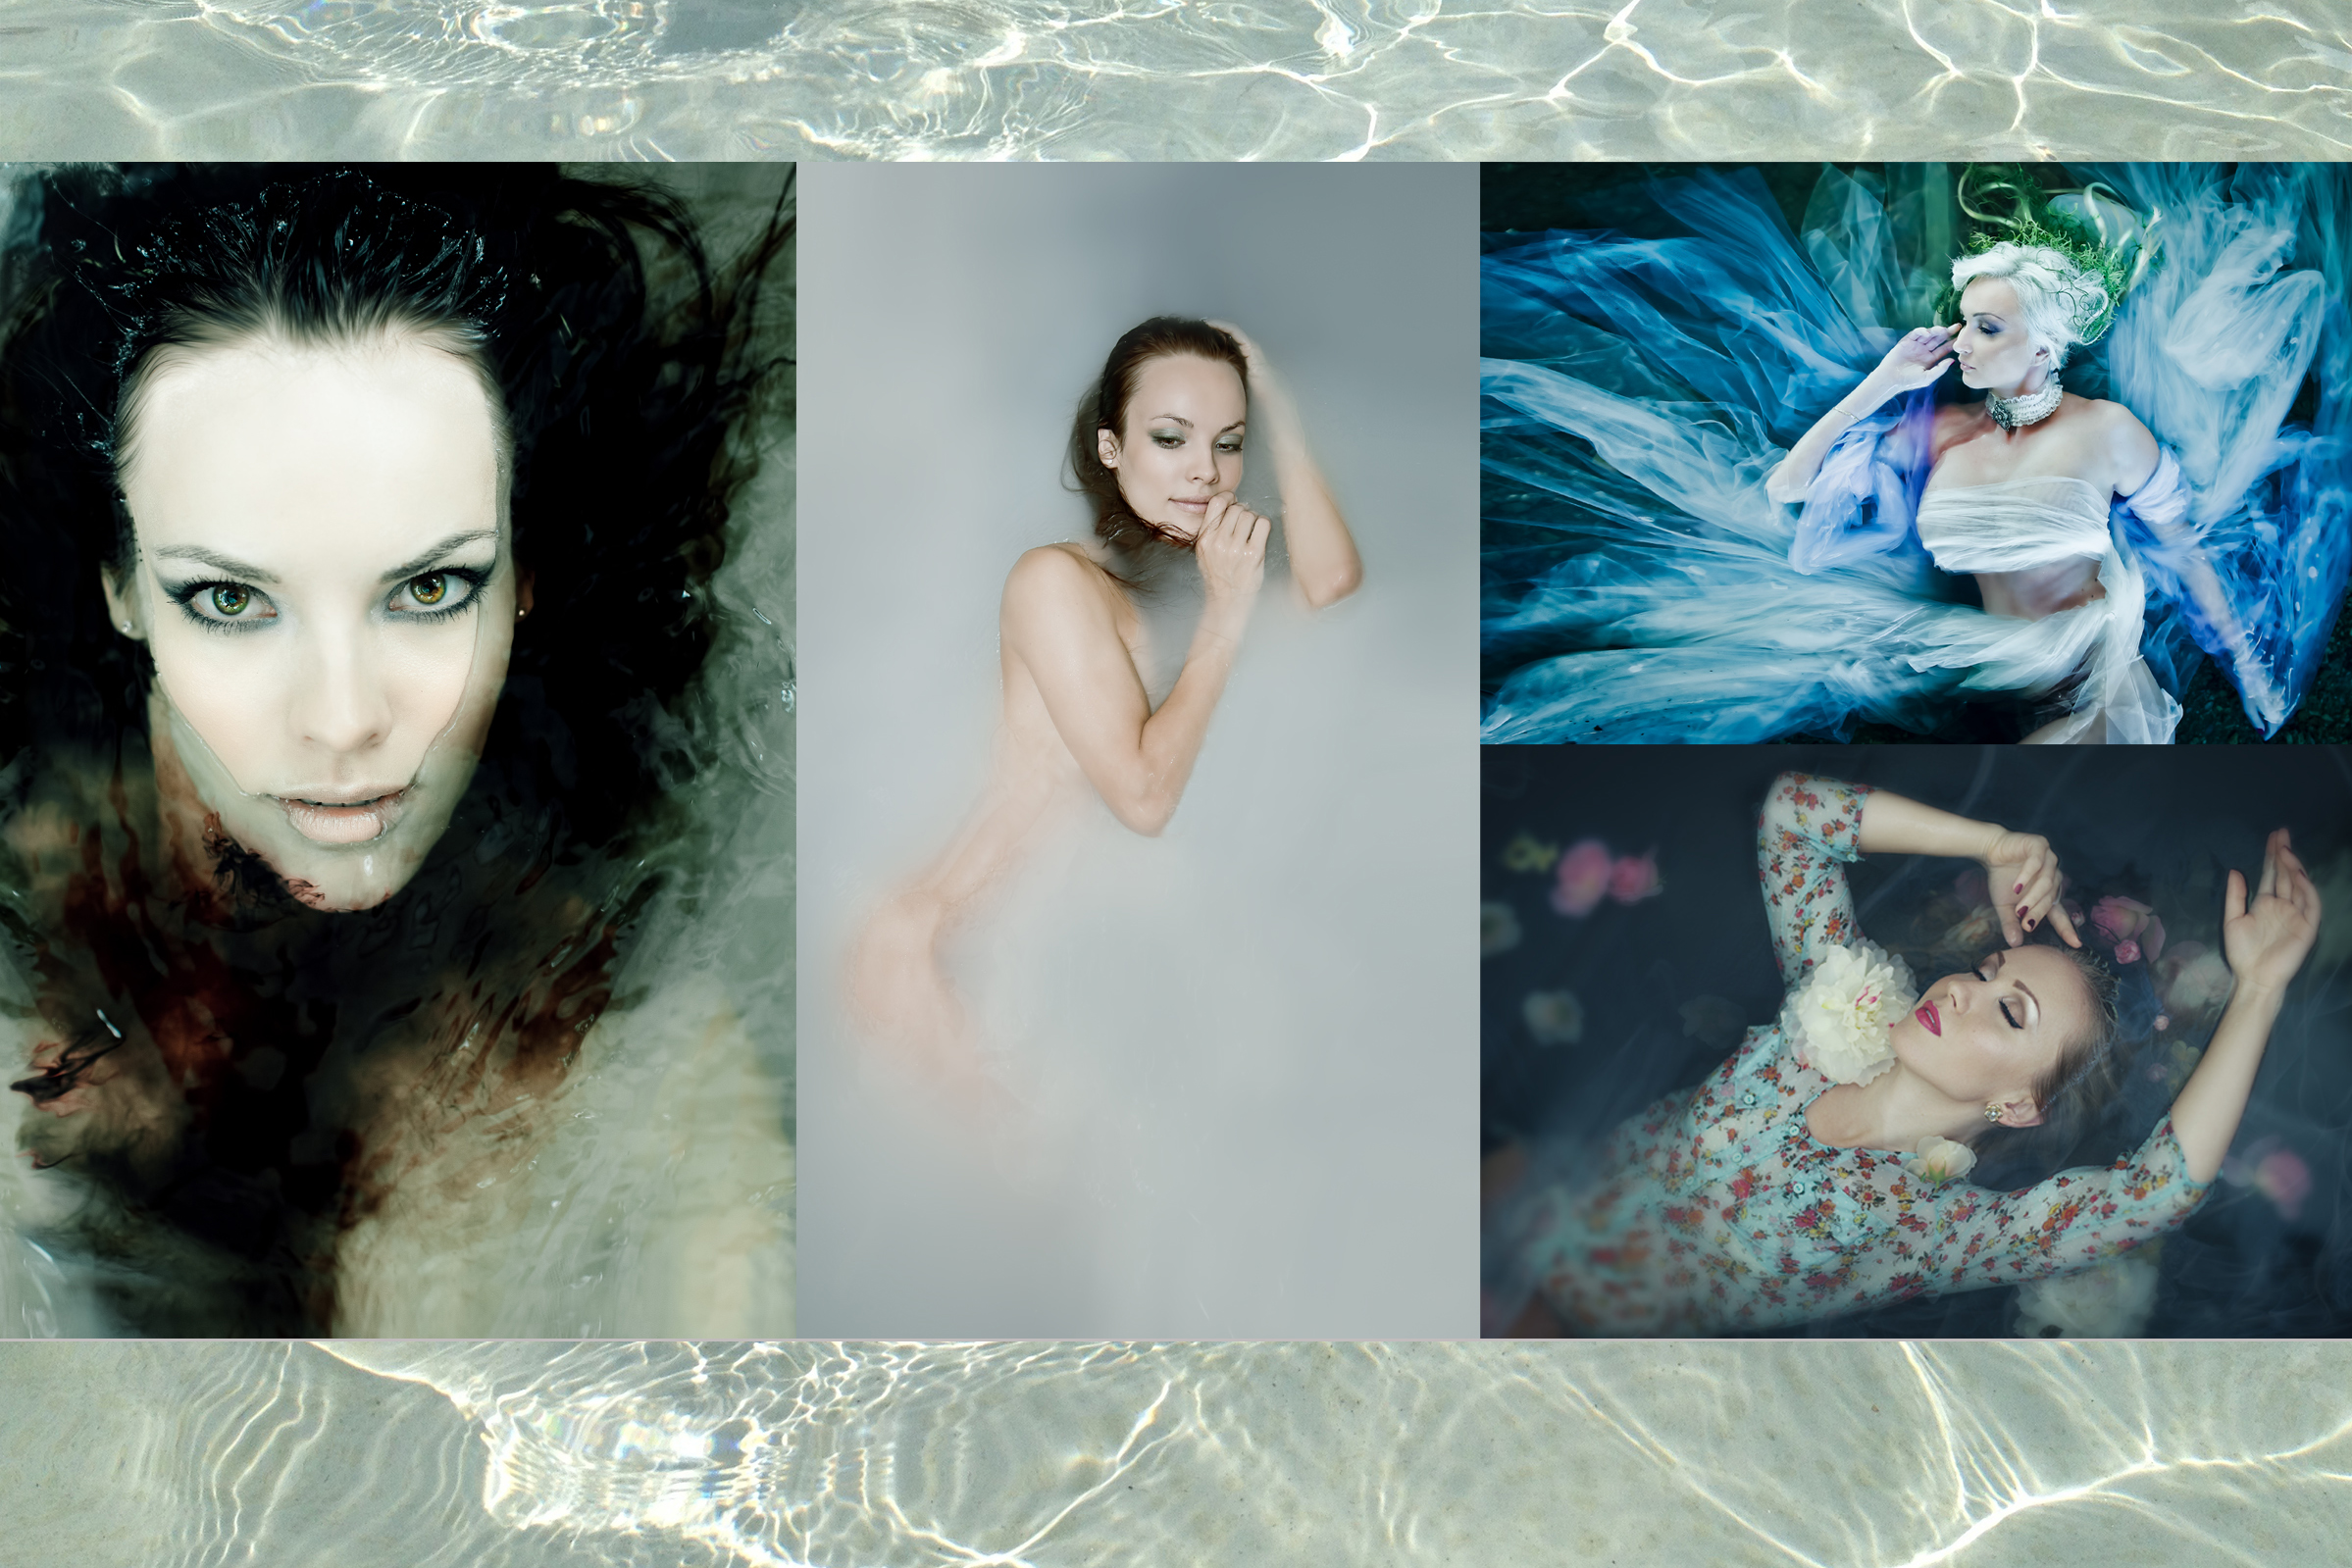
Shooting using elements: water
The sole purpose of this article – sharing my experience. We are talking about a camera above water shoot with the model/client in the water. My ambition is not to tell how it must be done… This is merely a tale of my journey.
I have 2 favorite scenarios – photographing a model/client (for convenience I’ll be saying model, though some clients opted for this type of shoot too) in the creek and in the bathtub. Given that the creek is cold even in the summer, the cold creek shoot is followed by a hot bathtub shoot. Win-win for both caring for the model and producing a body of work.
These 2 yield very different types of results. Movement of the water in a creek, in combination with the flow of the fabric creates an ethereal effect, and positioning the model at different angles to the current gives a variety of looks.
A bathtub, given comfort of the model, allows for a longer shoot and more control.
Each of these have details I believe are worth mentioning.
Lets start with shooting in a creek.
I find it of utmost importance to know your surroundings:
- Safety. Know where this creek goes. My model was pulled by a current in a place where the creek was ankle-deep, if that. We did not have any issues, in case you worried, but it is worth mentioning. Especially if your creek has waterfall en route ;). Wet fabric adds weight and limits movements. So think safety and plan ahead.
- Ease of going in and out – approachability. You’ll be jumping in and out of that water, retrieving props, different lenses, etc.
- Lighting. Unless you go for glare, find shade, like under the bridge shade. I found that just a cloudy day under an open sky does not cut it. However, I’ll be rechecking it this year. 🙂
- And the exact spot where you’d be shooting. It must be shallow. So shallow that your model can lie down and her face could be above the water.
You’ll need an assistant, even if your lighting is perfect and everything is thought of in advance. Do yourself a favor, and ask someone to assist. Just trust me on this one. 😉
Think about how you’re going to transport all your stuff to your chosen spot. It’s one of the obvious things, however practice shows that people often come without considering this small factor. A kid’s wagon works fine for me. Some people use an old stroller.
Think of the result you want to achieve. Since I love the look of a dark background under water, I create that using tent footprint. Let me know if you find a more manageable solution 😉
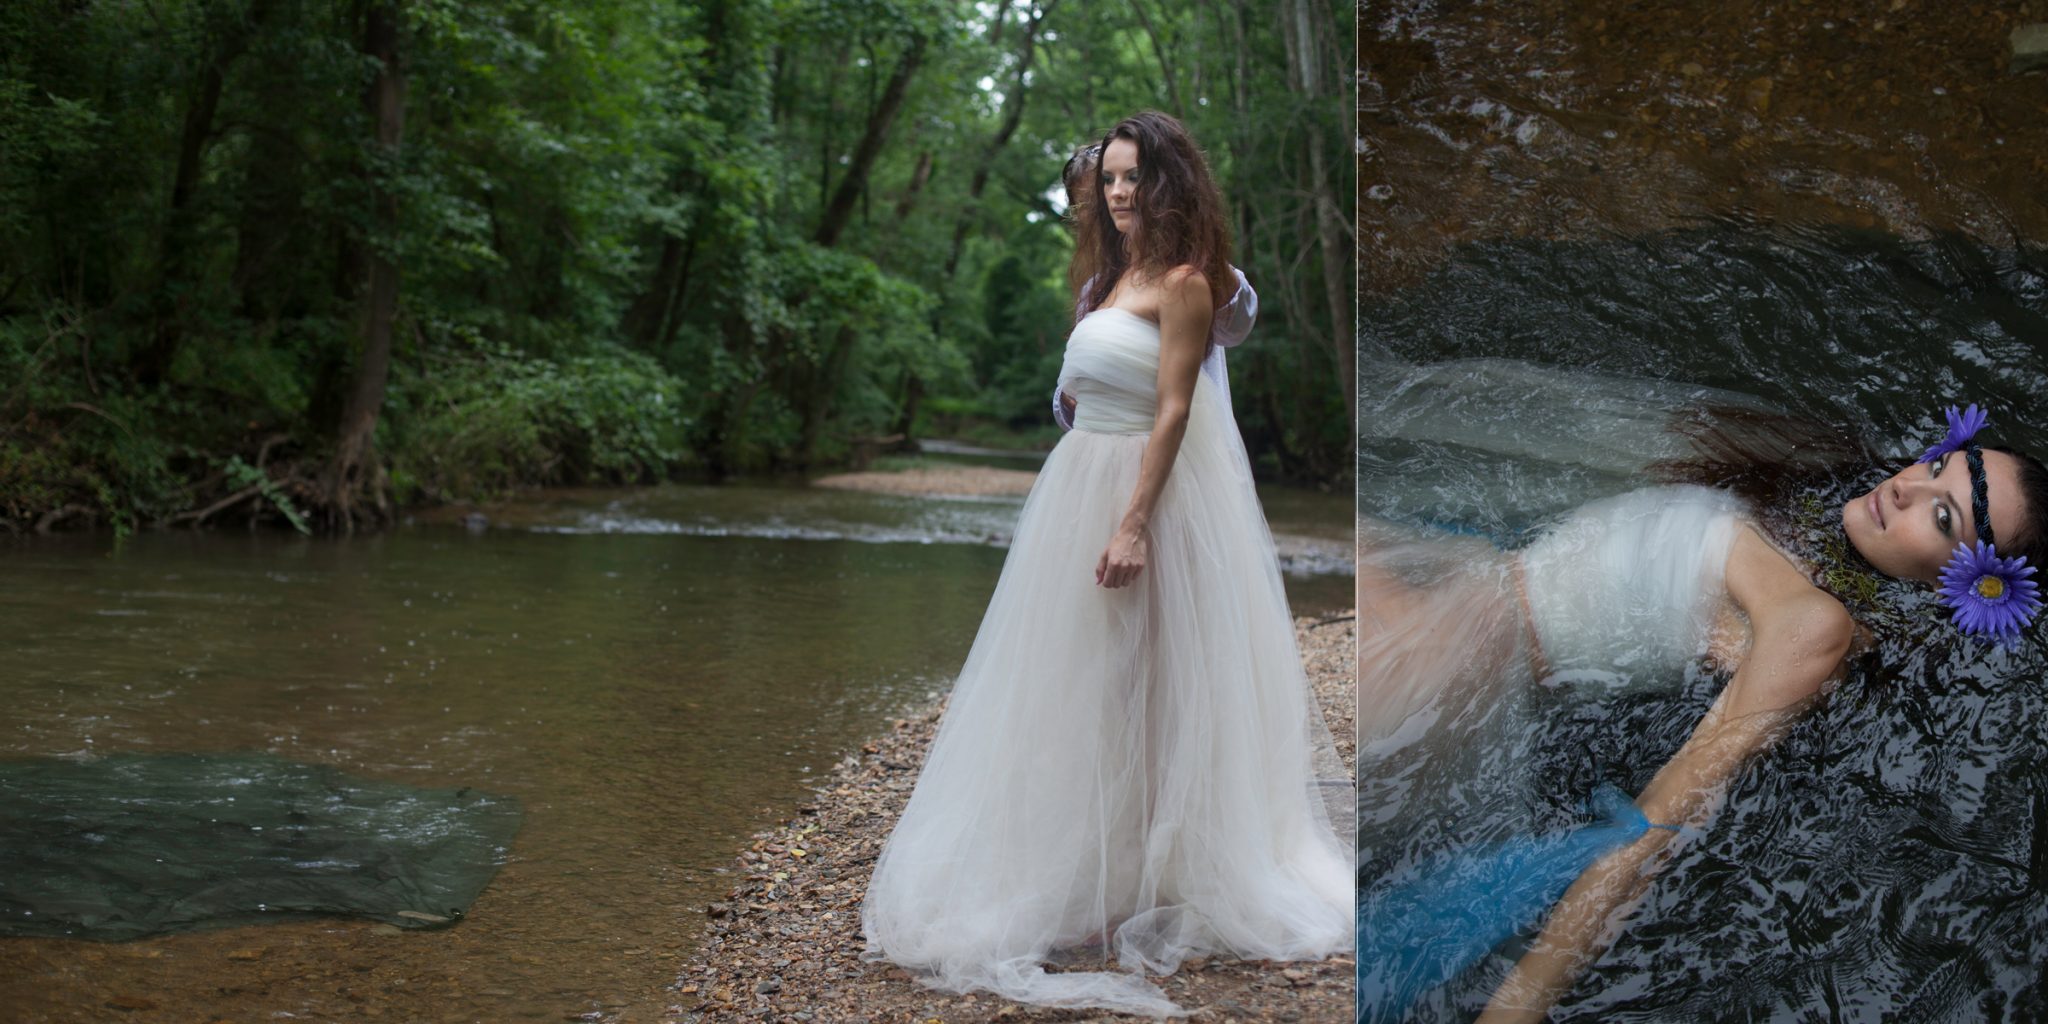
one of those under open sky shoots. There is a tent footprint in the creek ready for the model. While we still got good results, for the next shoot we moved under the bridge.
For my style of photography I use tulle skirts of my design that allow for lots of movement (I have a tutorial on how to make one on my blog), tulle sleeves, flowers or greenery in the hair…
And… water invites experimenting! I love using milk and food dye. And that is one of the instances where it’s a must to have an assistant.
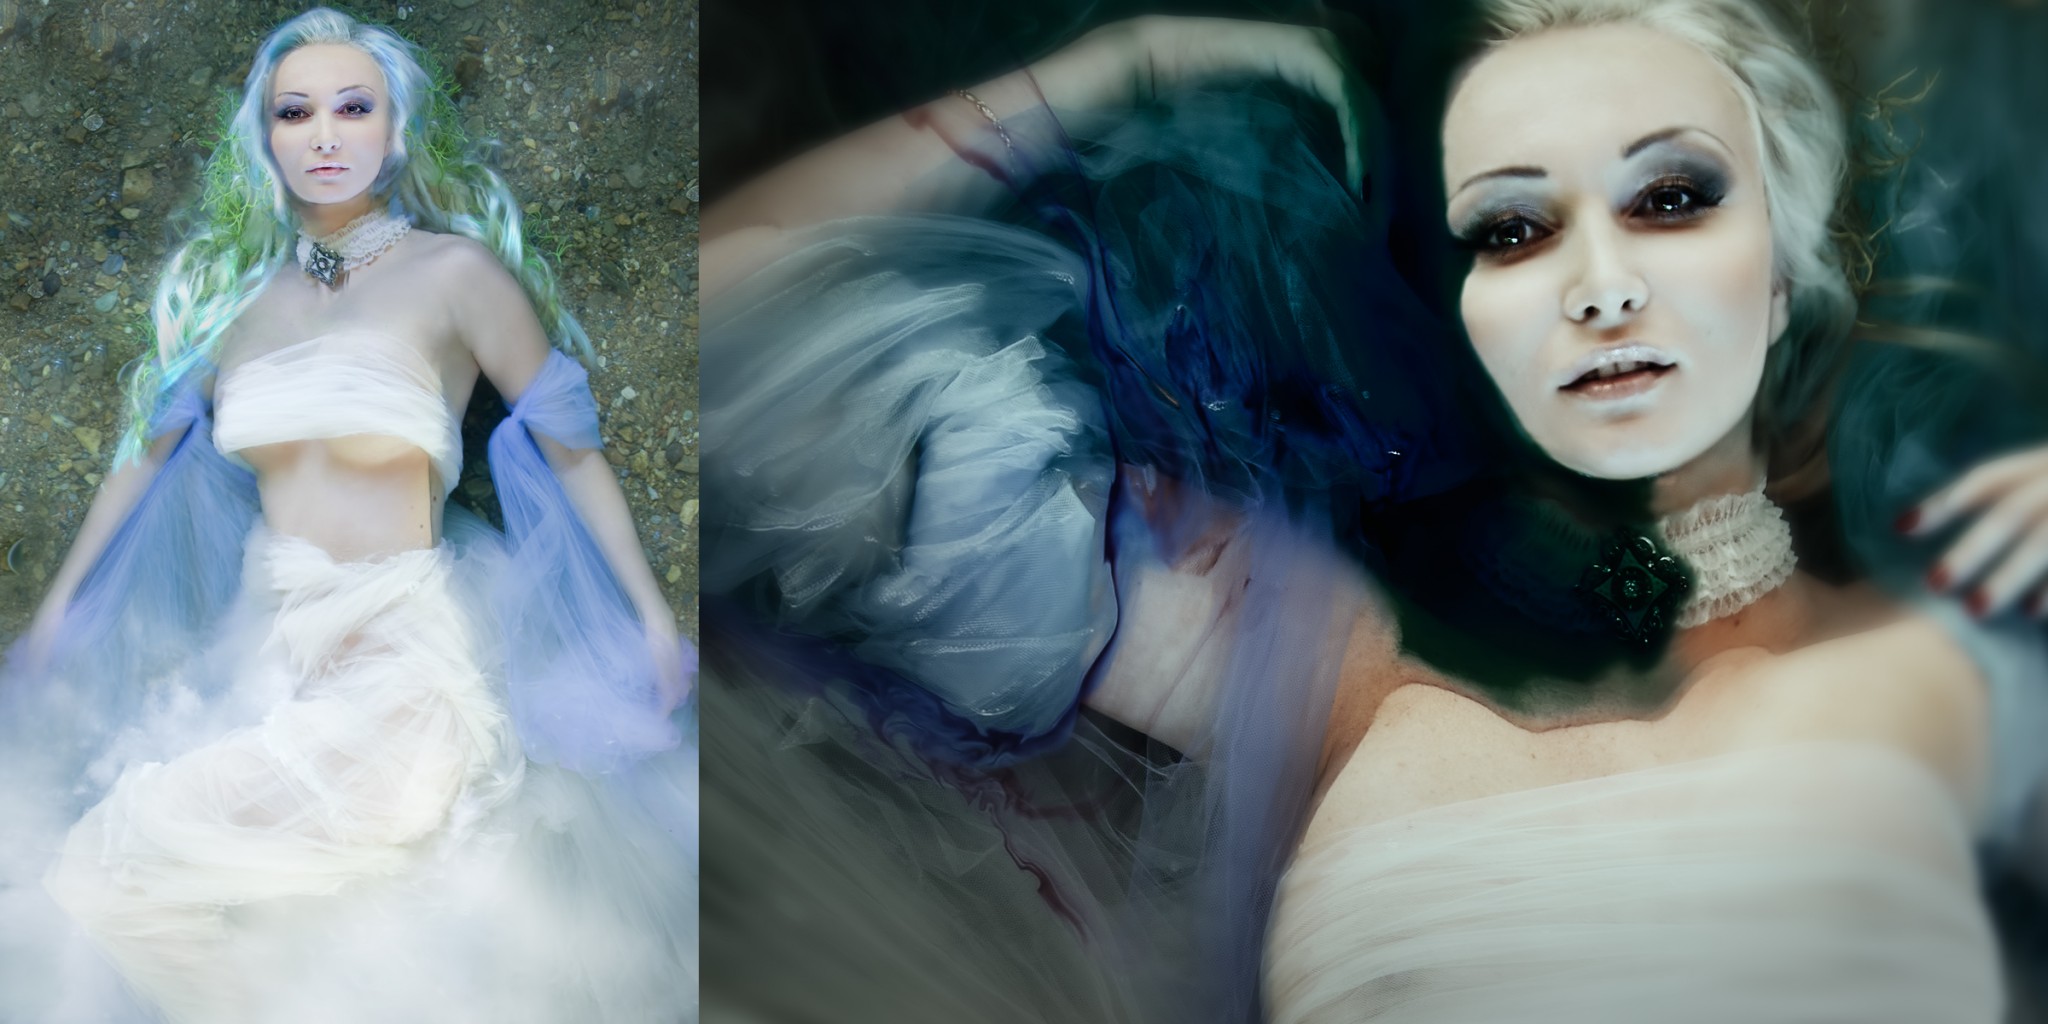
I use a wide zoom lens if I need the majority of the body in the frame. You must take into account lens distortion. If I need an above-the-model angle, I shoot blindly holding the camera in an outstretched hand. For portraits I use portrait prime lens (50mm equivalent)
FYI, models experienced with shooting in cold water tend to bring along hot drink or something to get warm after the shoot. Because it is cold in the creek, even when it’s 90F outside. Just saying 😉
And yes, take care of your model. Figure your spot/light/props/camera settings BEFORE she gets in the water.
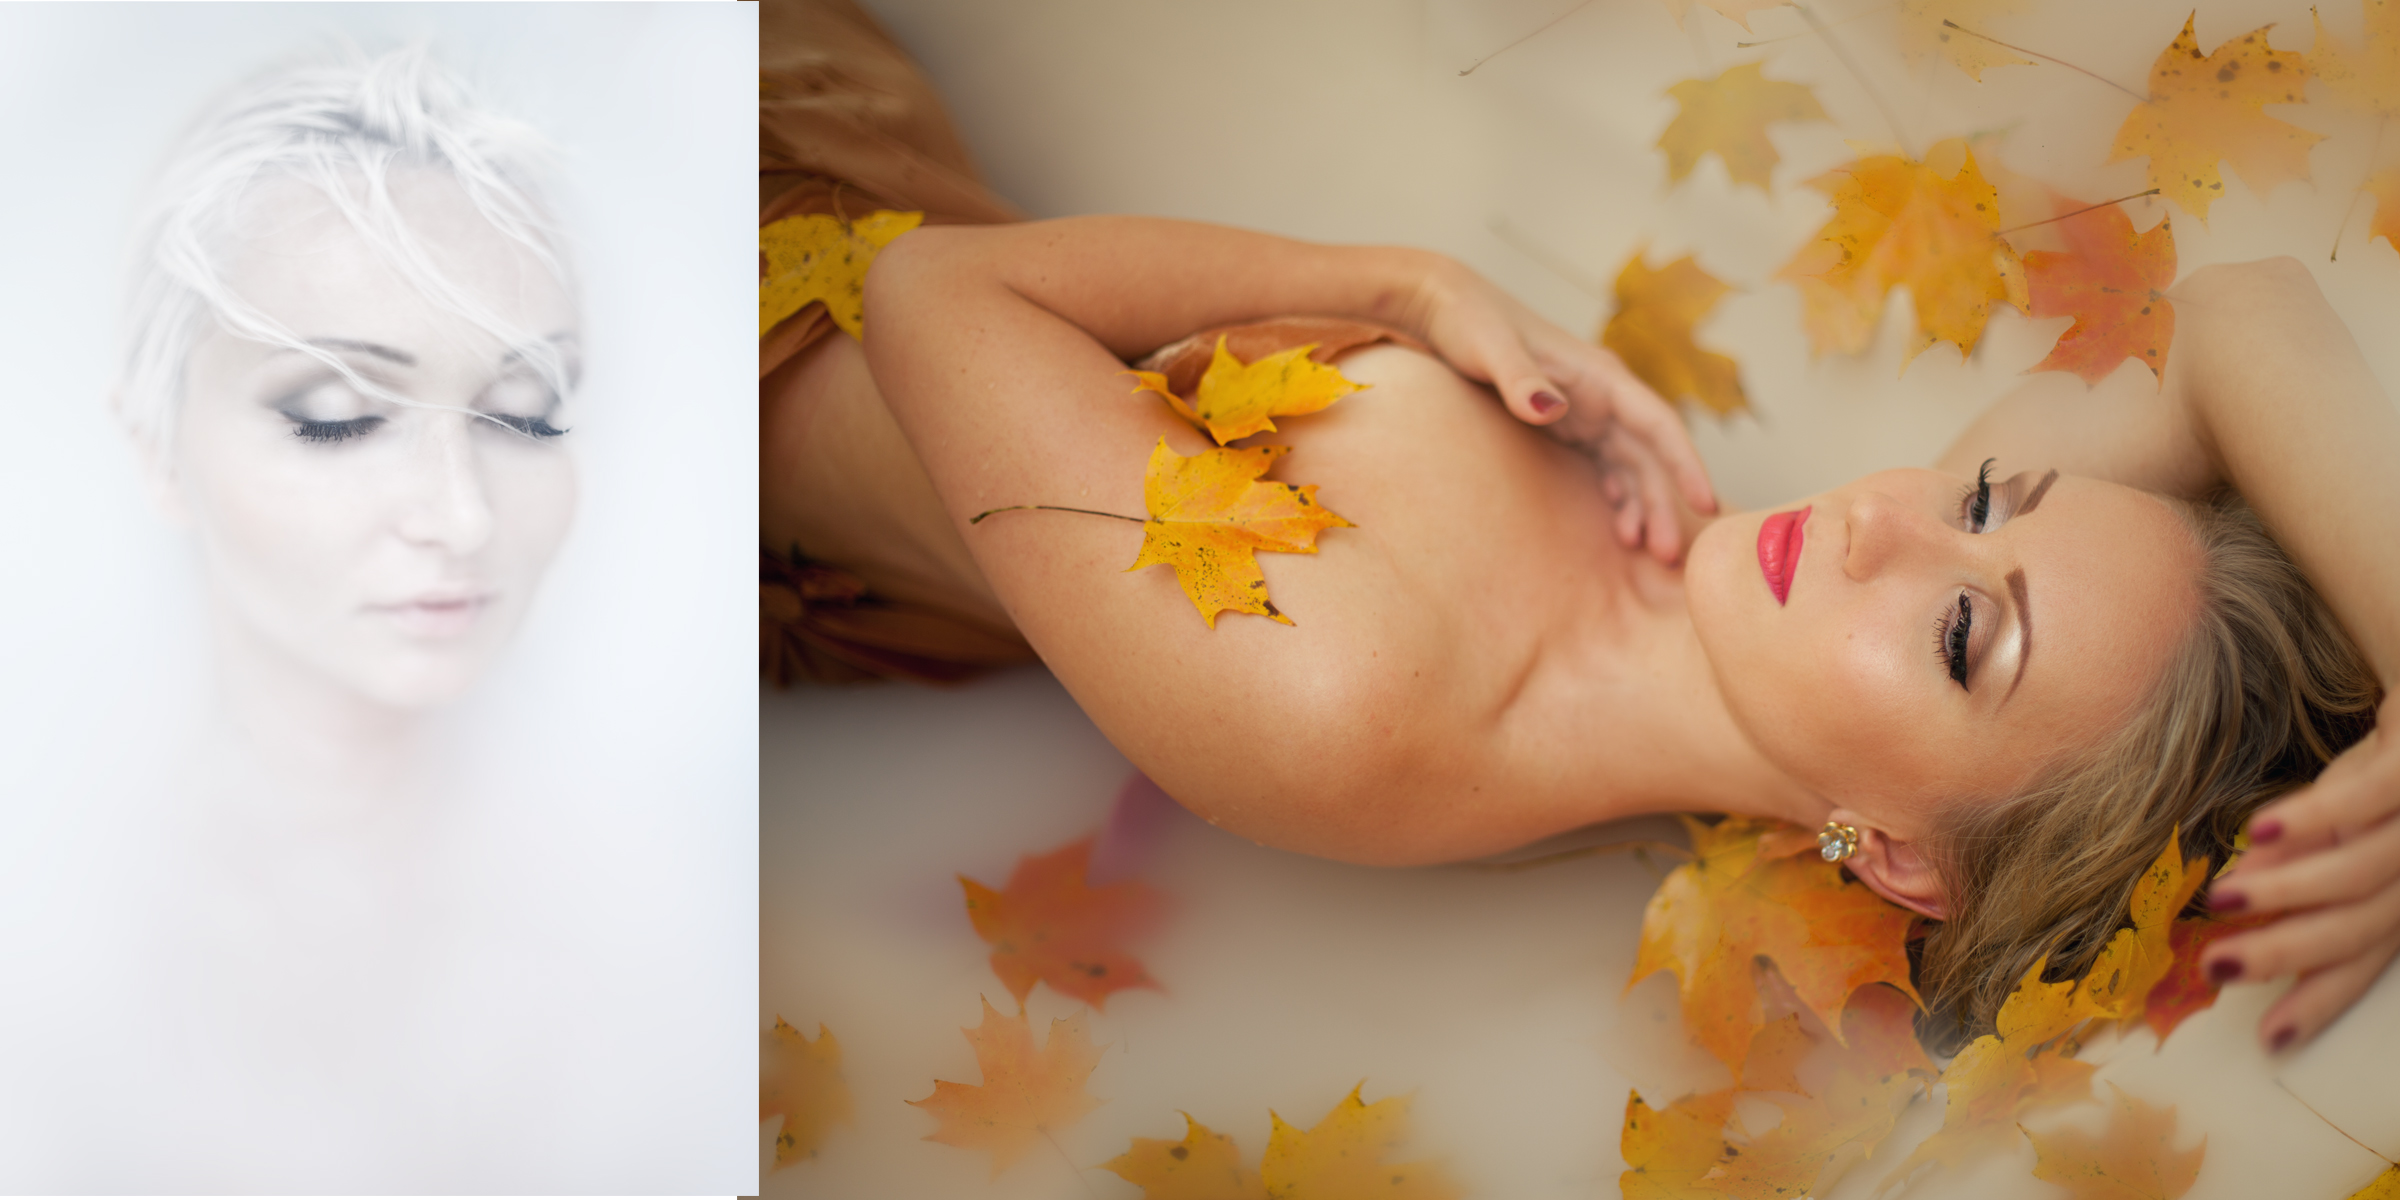
Now for the bathtub shoot.
I shoot in a plain bathtub. I expand it in post. 🙂 The trick to make it easier for yourself – make few snaps of your settings before model gets in.

As with the creek, I often darken my tub using fabric. Then we can start with clear water, and proceed to using colorings or milk. And you don’t need much.
The amount of milk used in the water creates different effects. From a light fog to a thick, smokey, misty look.
My light set-up is simple. Flash pointed toward the white ceiling. It’s that easy. I find that spatially separating flash from camera reduces glare, so I avoid using hot shoe flash on the camera.
One of the necessary elements of the bathtub shoot is finding support for the model in order to achieve an effortless posing look. I’ve experimented with soft balls and a few other items, but for now sticking with using a step stool to support model’s neck. It’s not ideal, but it works. Please share your discoveries!
Since people had question about make-up for water shoots, I asked an amazing MUA I’m working with, Lana Lamce, to comment. Here is her response:
“When it comes to makeup for water photo-shoots I encourage not only for water proof mascara and eyeliner but also for sweat proof silicone based primers, foundations and concealers (I personally prefer Make Up Forever face and body foundation and RCMA pallets), blush and eye shadows also should be cream, I also use a little blotting powder to set the cream, however just a little because heavy powder tends to wash off and create streaks when in contact with water. After all make up is done I spray with a setting spray such as MAC’s fix plus or Urban Decay All Nighter, they seal everything in and help make up last forever even under the water :)”
And here is what one of the models I’ve worked with, Anna, is saying about her shoot:
“Despite the cold weather, our photo-shoot on the river was a wonderful experience. The water was frigid so we were forced to work quick, however the cold water helped me capture the dramatic look I was seeking. I believe this was reflected in all the photographs Tatiana took. In my opinion, it is imperative for the photographer and model to be on the same page and have a connection so that the final product is a success. It would have been awesome to have been completely submerged underwater, but the cold temperatures prohibited that. I’m extremely happy and satisfied with my pictures from the photo-shoot from the river. You have to go the extra mile, despite the bad weather, and put forth 110% effort.
The bathtub shoot was the complete opposite. I felt so comfortable in the warm that I was more relaxed and could easily express myself in these images.
Overall, the photo-shoot was amazing. It is wonderful to see myself in different scenarios, expressing passion through different poses and looks.”
So here it is. Please share your discoveries, I’d love to hear how you do it!
Wonderful! Thank you for posting this. Beautiful work.